When I first met Mr. & Mrs. Bunny, they were a bit sad:

Yes, this was them, in their pre-Mr. & Mrs. Bunny life, languishing on a shelf at Big Lots. I try to get by on a budget, so I do go to Big Lots--not frequently, but often enough to know when the aisles change--and look for deals. These two bunnies were a deal. They weren't very complicated in construction: I could have gone to the fabric store and bought the materials to make them, but the sale price and my discount made buying them in this state and fixing them more feasible.
This is something I DO do frequently--buy things that are close to what I want and make them better. I call it "editing." After all, isn't that what a good editor does? She takes a story that is a close, or maybe a diamond in the rough, and really makes it shine.
The first thing I had to do was pick one bunny to be the boy, and one to be the girl. The one on the right had plainer clothing, so I picked him to be Mr. Bunny. I removed the skirt from the outfit, which was sort of tricky, since these stuffed animals are finished with a combination of stitching and fabric glue. Once I got it off, I could fully examine their construction:

I tied the collar together with a rubber band, and turned that into Mr. Bunny's kerchief. I decided that covering the pink fringe on his hat with tan trim would also help:

I looked through my scrap chest to find some fabric to make pants from. I didn't find any one fabric that would do the trick, but I had a bunch of upholstery sample blocks in hues of blue, and I thought they would make a nice patchwork trouser for Mr. Bunny:

It took me about an hour to piece together enough of these to wrap all the way around him. When I pinned it on him to see how it would look, I also put a pair of doll glasses on him to see if he was a eye-glass wearing bunny. I was looking for masculine details to add to his look.
Mrs. Bunny was easy. I added a flower to her hat, made a balloon underskirt for her to fill out her outfit to the ground, and gave her a three-pearl brooch for her collar. Not too tough.
Making Mr. Bunnies trousers though, especially since he had to have the illusion of legs, was tricky. After I got enough fabric to loosely wrap around him, I sewed a permanent pleat in front and back where his trousers would have had pleats, added cuffs, and realized he needed feet/shoes to really look like he was wearing pants:

I sewed his "feet" to the bottom of his stand by hand.

I sewed a "dimple" all the way through the pants and the base to give the illusion of legs.
I came up short on fabric for his pants and had to make a waist band from a matching satin fabric, with a patch-pocket to put his pocket-watch in. I added buttons to the front of his shirt. I'm not fully satisfied with the result, but it will do for this year. I already have notes in my craft journal for next year: "Make Mr. Bunny a vest."

Here they are, near completion. At this point my friend Roxanna nicknamed them "Juan and Juanita J. Bunny." I was going to call them Jean-Claude and Matilde, but we'll squabble over names later.
I noticed the effect of giving Mr. Bunny feet helped with his appearance, so I decided to make a pair of matching feet for Mrs. Bunny:

I drew the pattern for her feet on a piece of scrap cardboard.

I cut the bottom (with 1/2" seam allowance) from the same black felt as I used for Mr. Bunny's shoes/feet, then
cut the top of her shoe about 1.5 inches larger in a green satin. (I got the fabric from the other bunny's skirt.) I sewed a piece of the tan trim across this, then sewed the right sides together, turned them out, stuffed each one, and the ready to be attached "foot" looked like this:
Hand sewing it to her body:

Now she's ready to go dancing with her hubby.
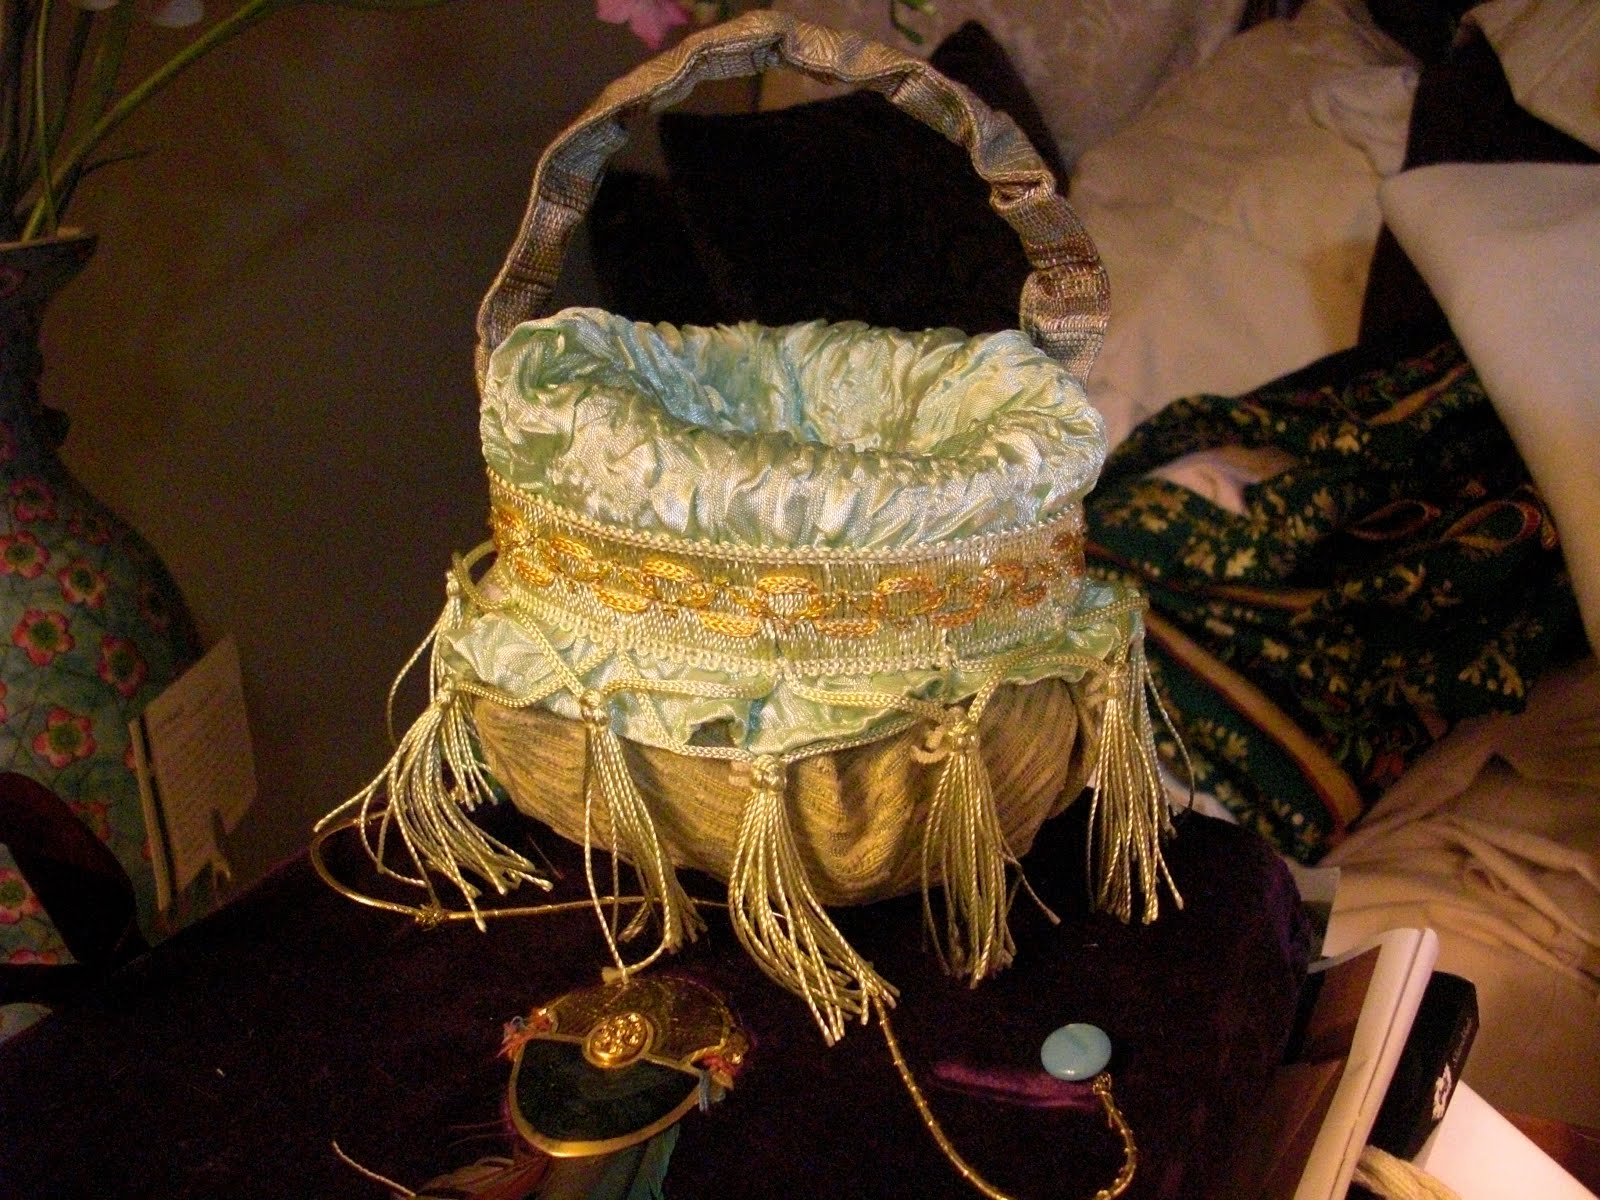
I decided to make him a basket as part of his props, since she has her nice silk purse with her. I was toying with different things to put in his hand, a rake, a pipe, but I figured out a way to use leftover fabric from the removed skirt and a recycled container to make a basket for Mr. Farmer Bunny, and that seemed apropos. More on that later....